
Custom domains
Connect your own domain to your yabby website with a TXT verification record and a CNAME.
Before you start
You'll need:
- A paid plan — custom domains are available on Pro, Premium, and Max.
- A domain you own, managed at a registrar or DNS provider where you can add records.
You can connect a subdomain (like www.yourdomain.com or videos.yourdomain.com) or an apex/root domain (like yourdomain.com). Subdomains are the simpler setup.
Paid plan required
Custom domains require a paid plan. The Free plan can't publish at all — see Plans.
Connect your domain
Open your website in the editor, switch to the Settings tab, and enter your domain in the Custom Domain card.
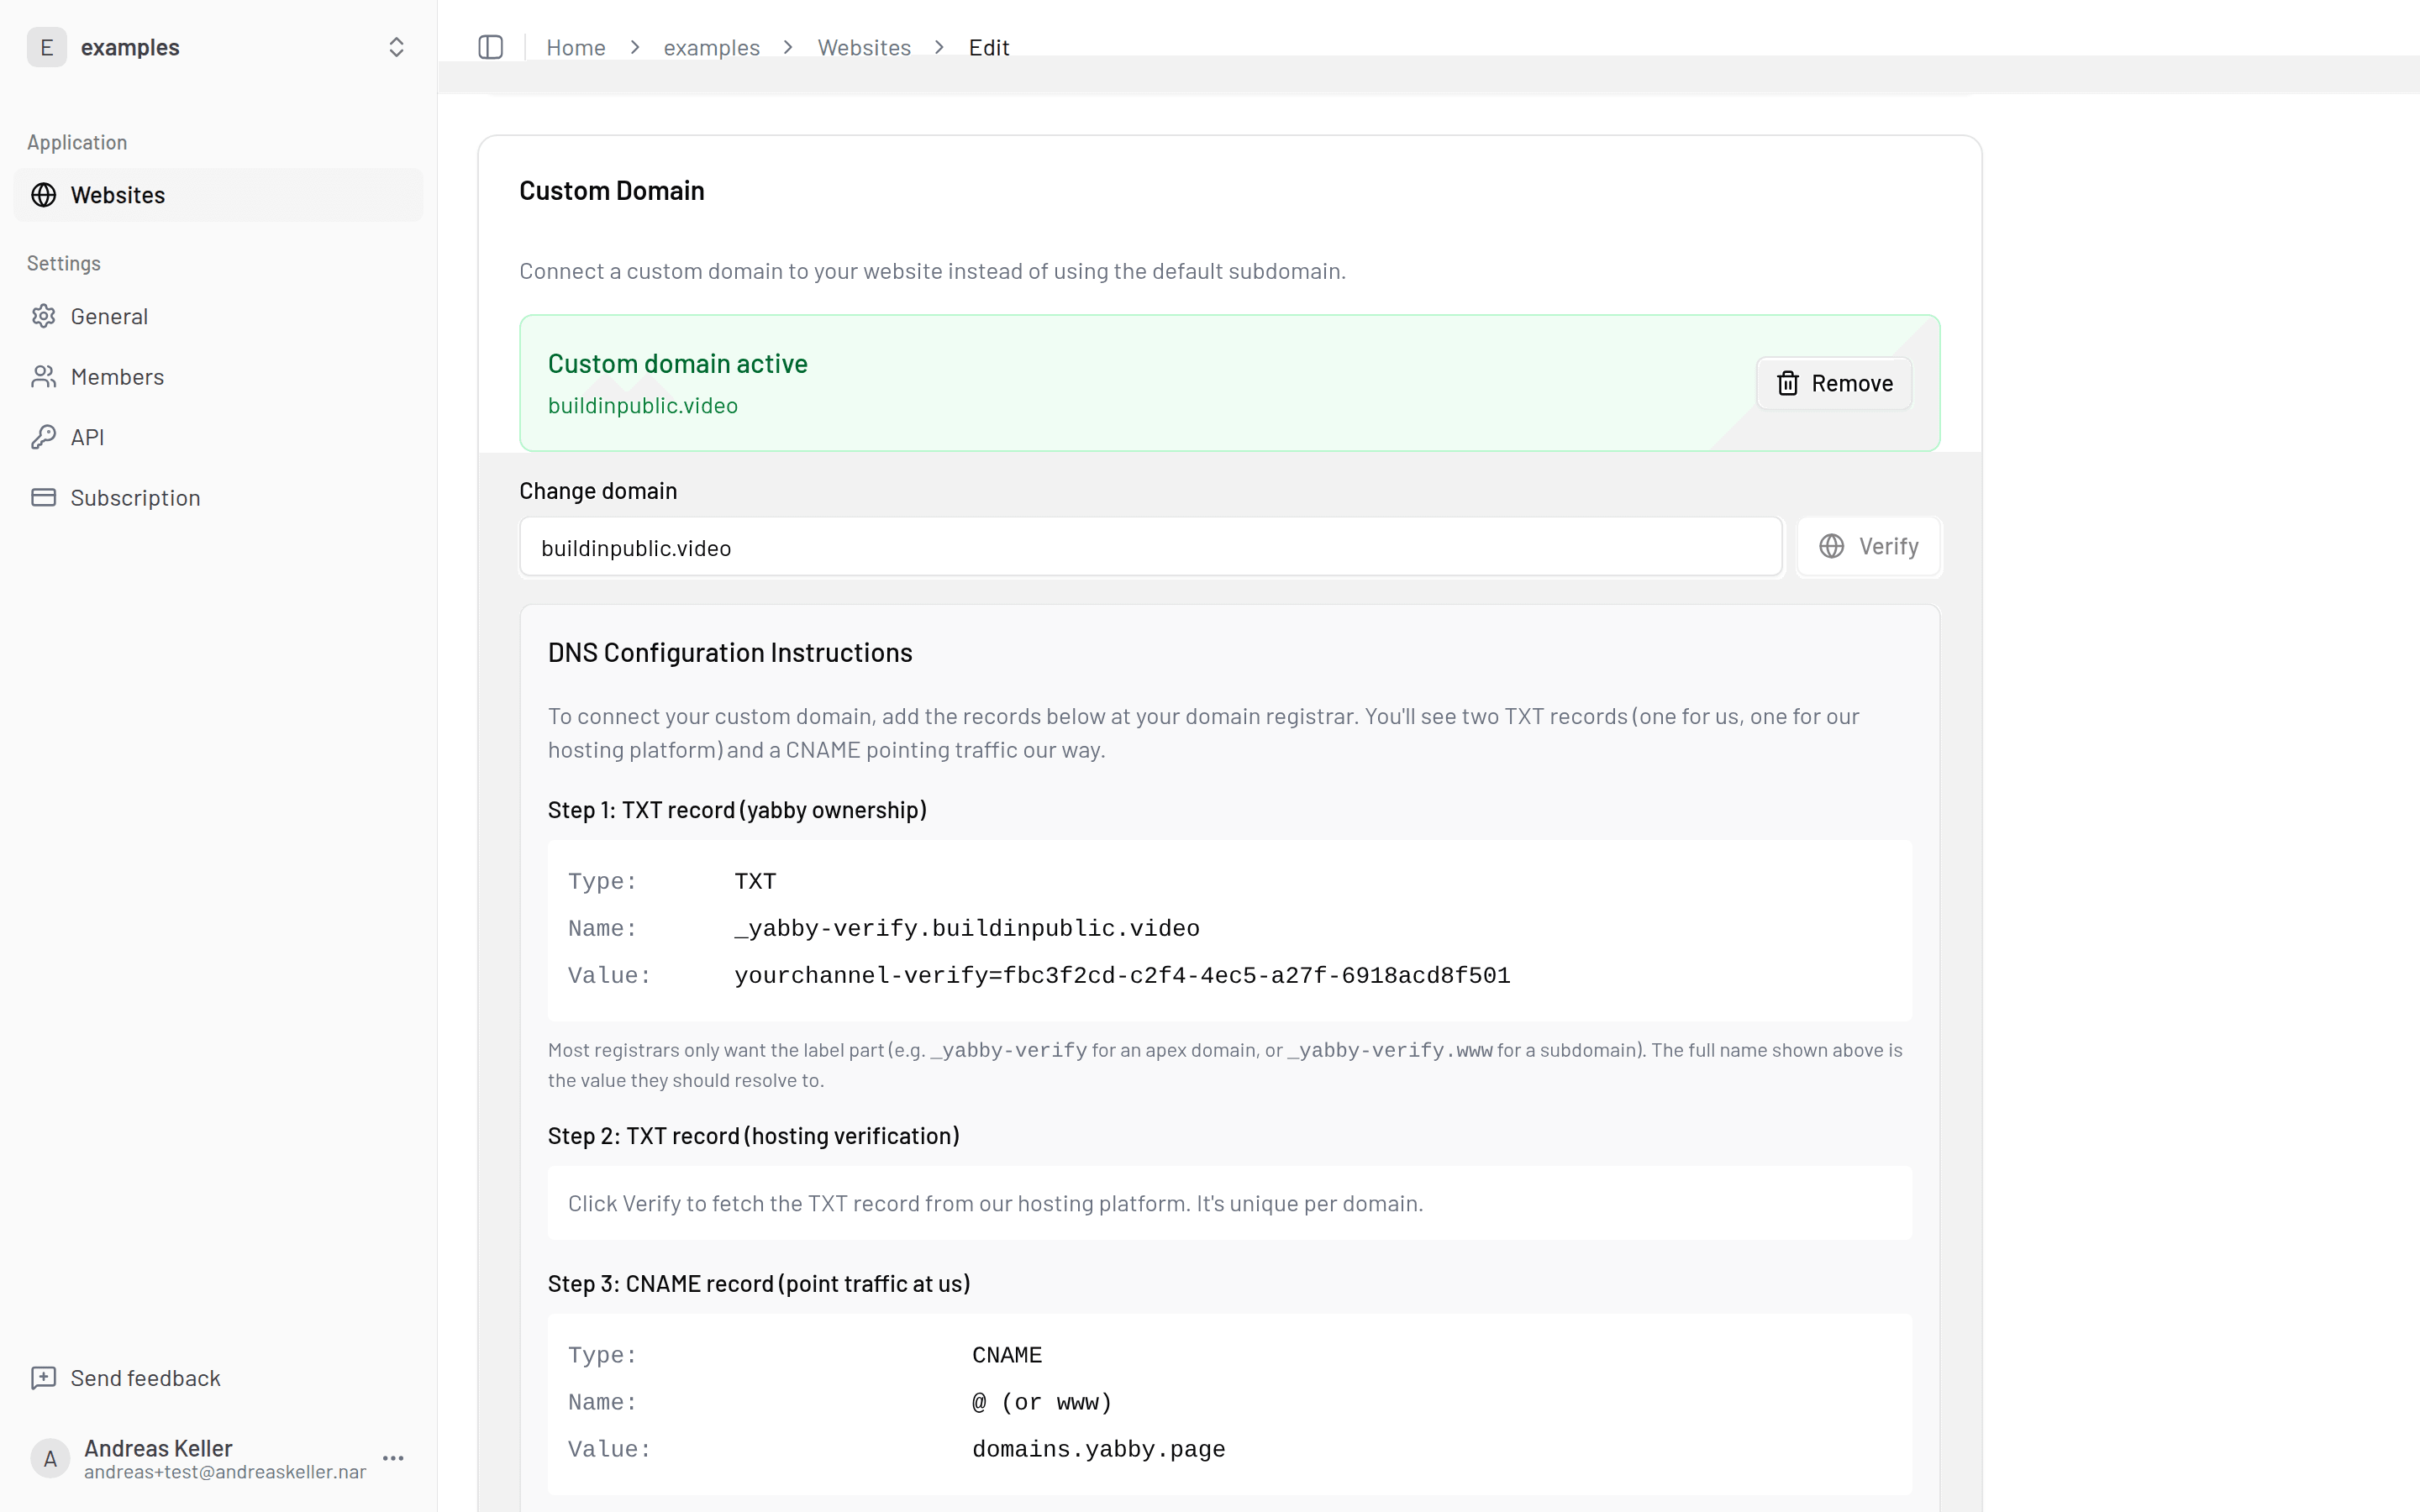
Add the TXT verification record at your DNS provider. The host is _yabby-verify.<yourdomain> and the value is shown in the dashboard (it looks like yourchannel-verify=<website-id>). This proves you control the domain.
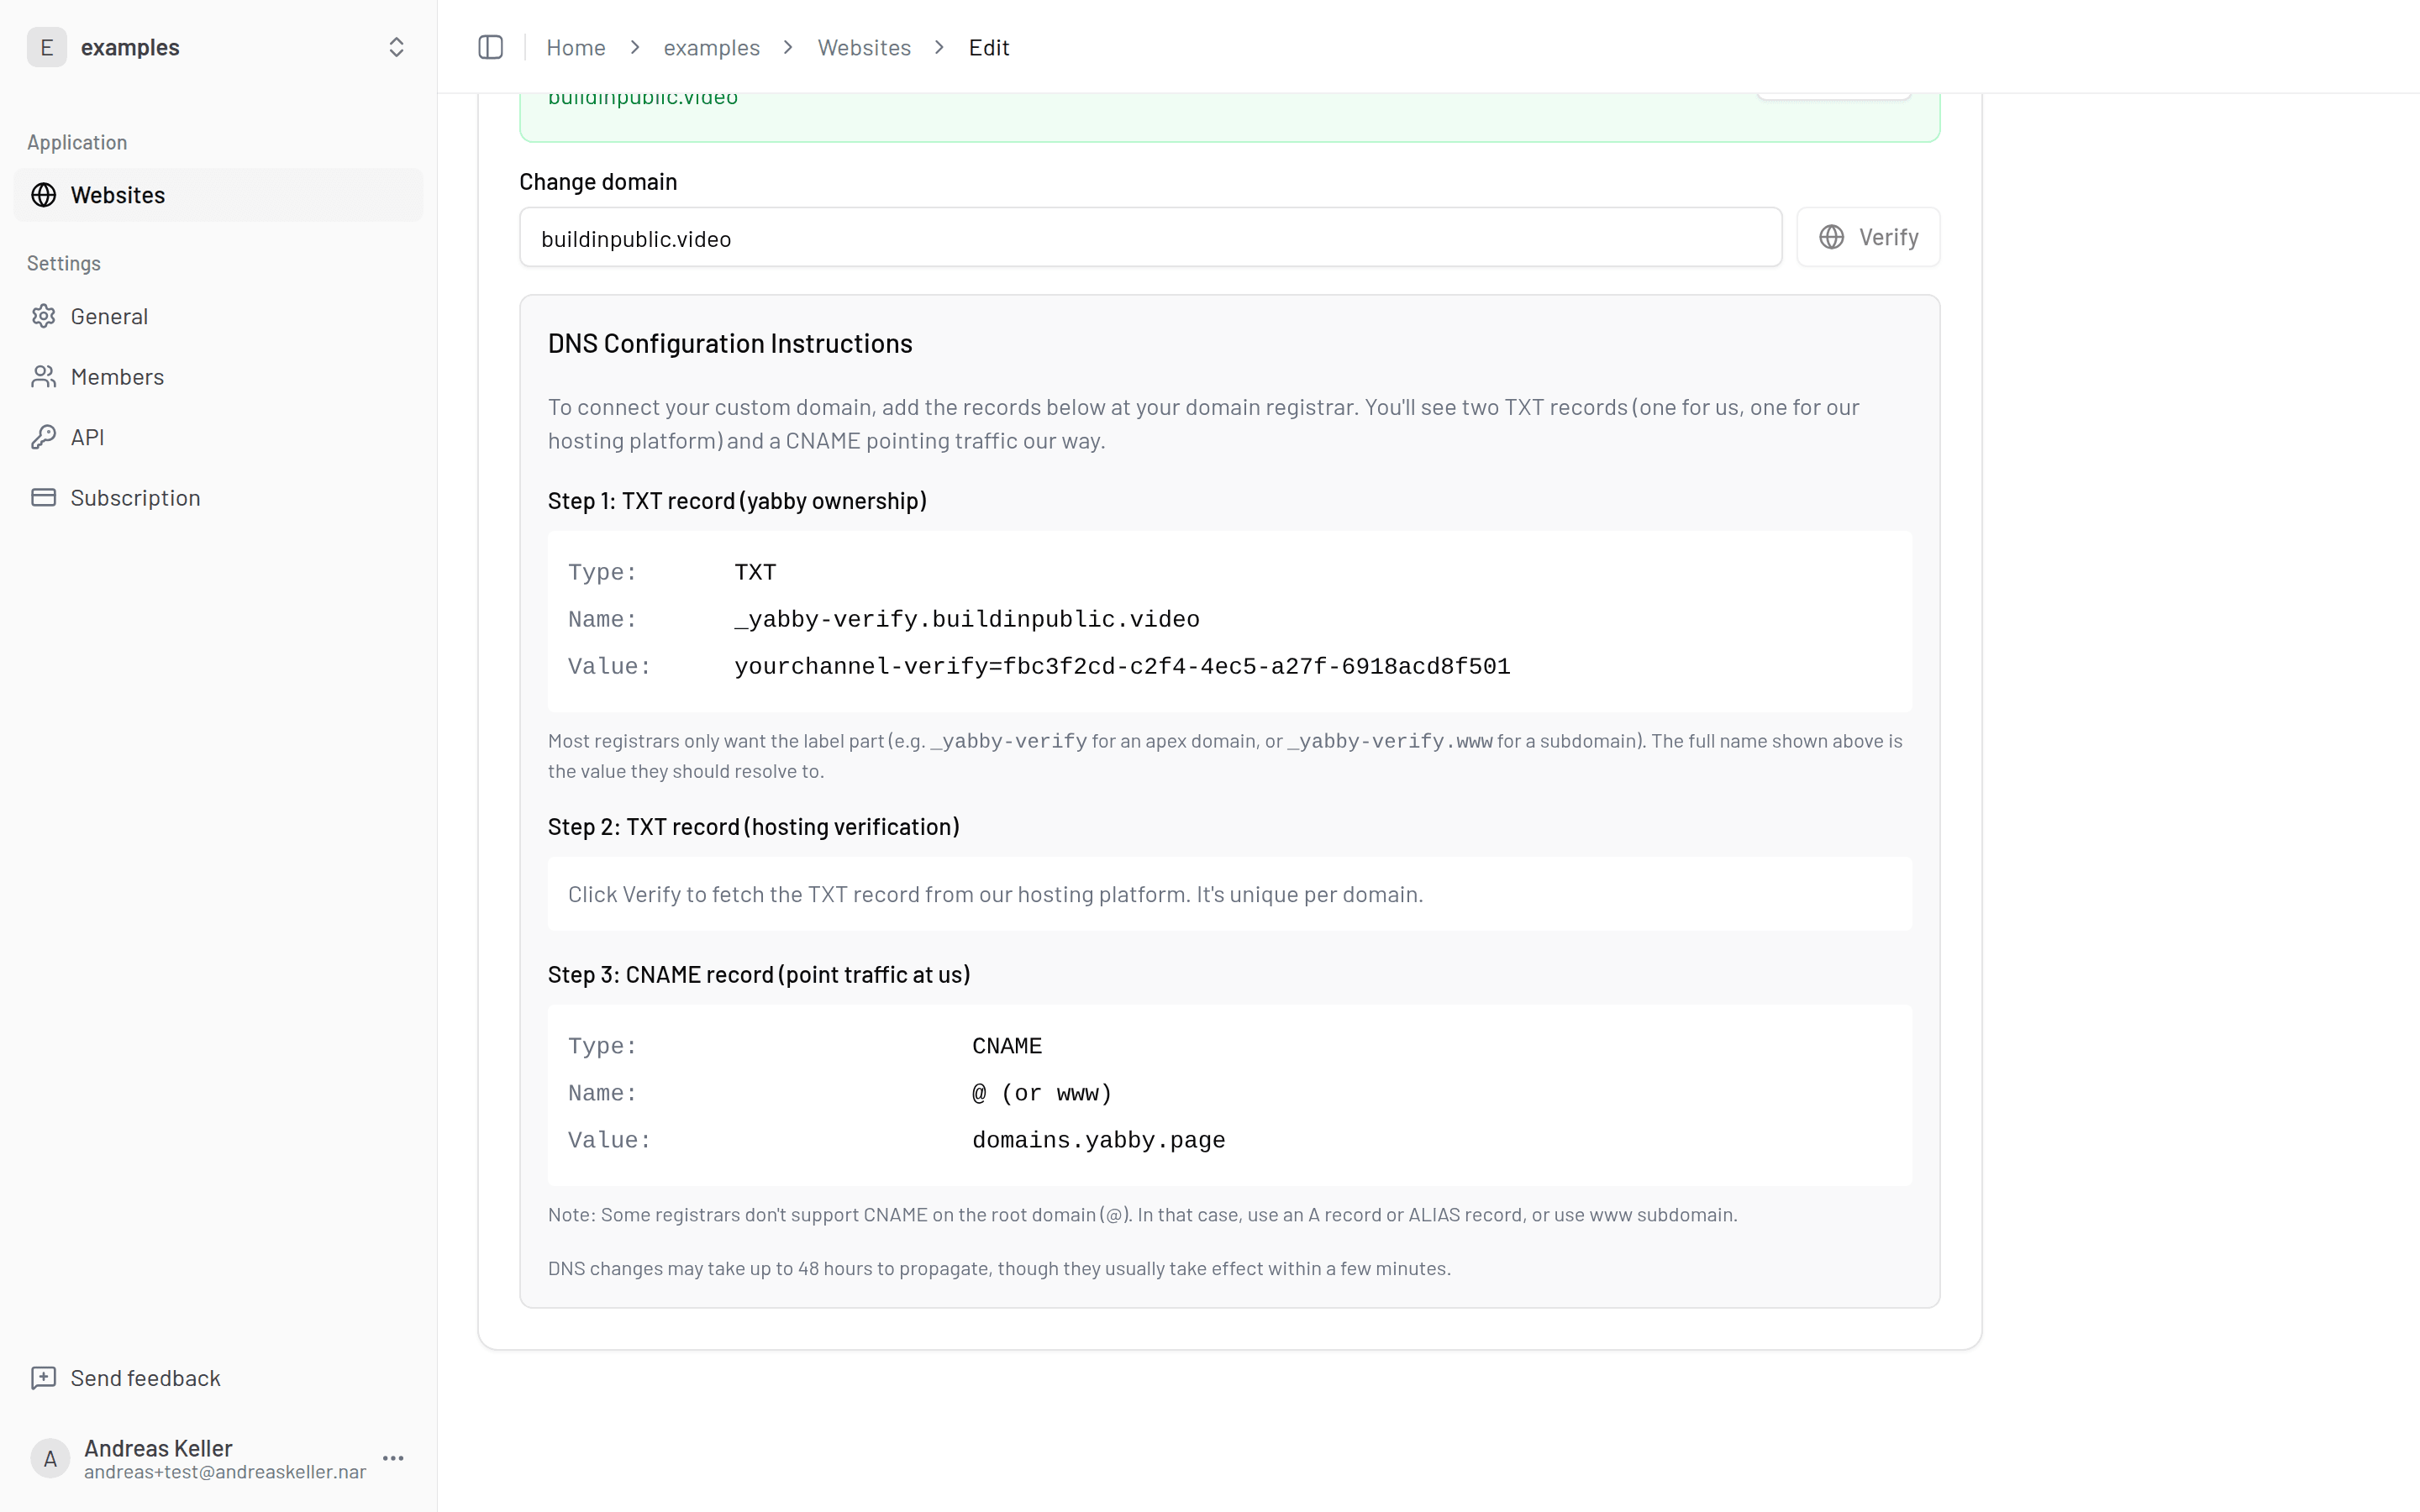
Point your domain at yabby:
- Subdomain (e.g.
www): add a CNAME record pointing to the target shown in the dashboard. - Apex/root domain: you may need an additional
_vercelTXT verification record plus an A/ALIAS setup — the dashboard shows exactly which records to add.
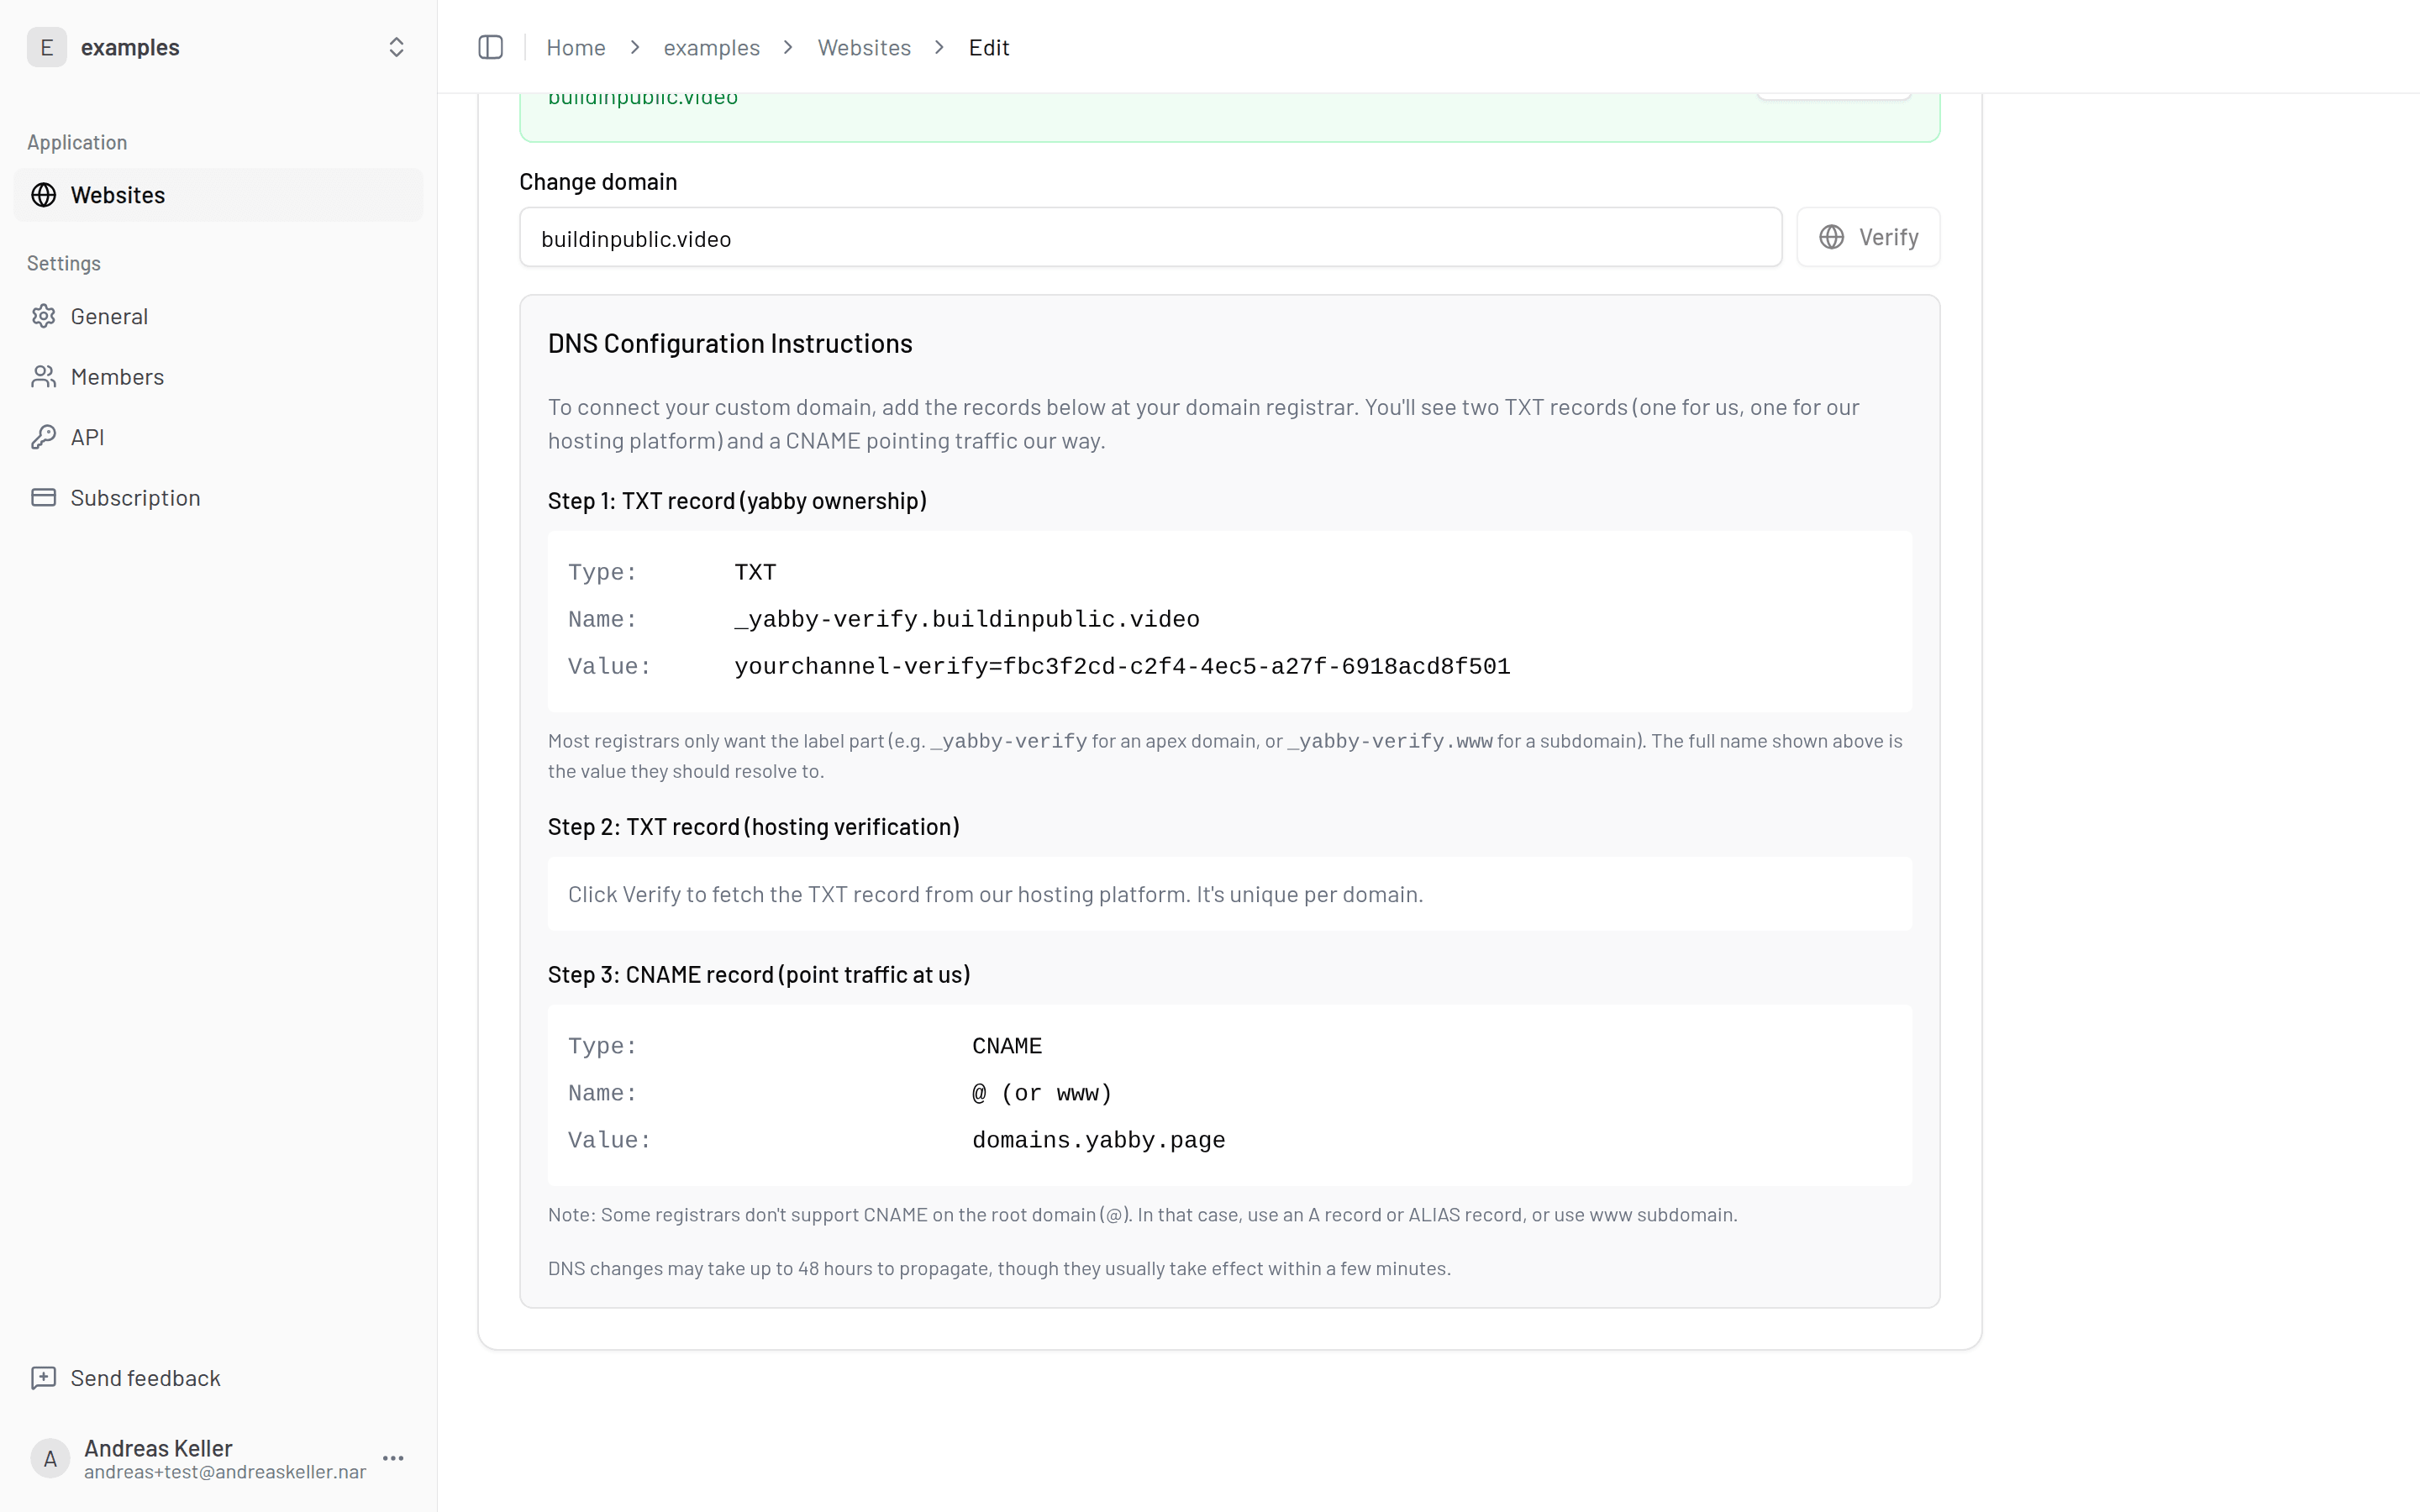
Back in the dashboard, click Verify. yabby checks your records and shows the verification status.
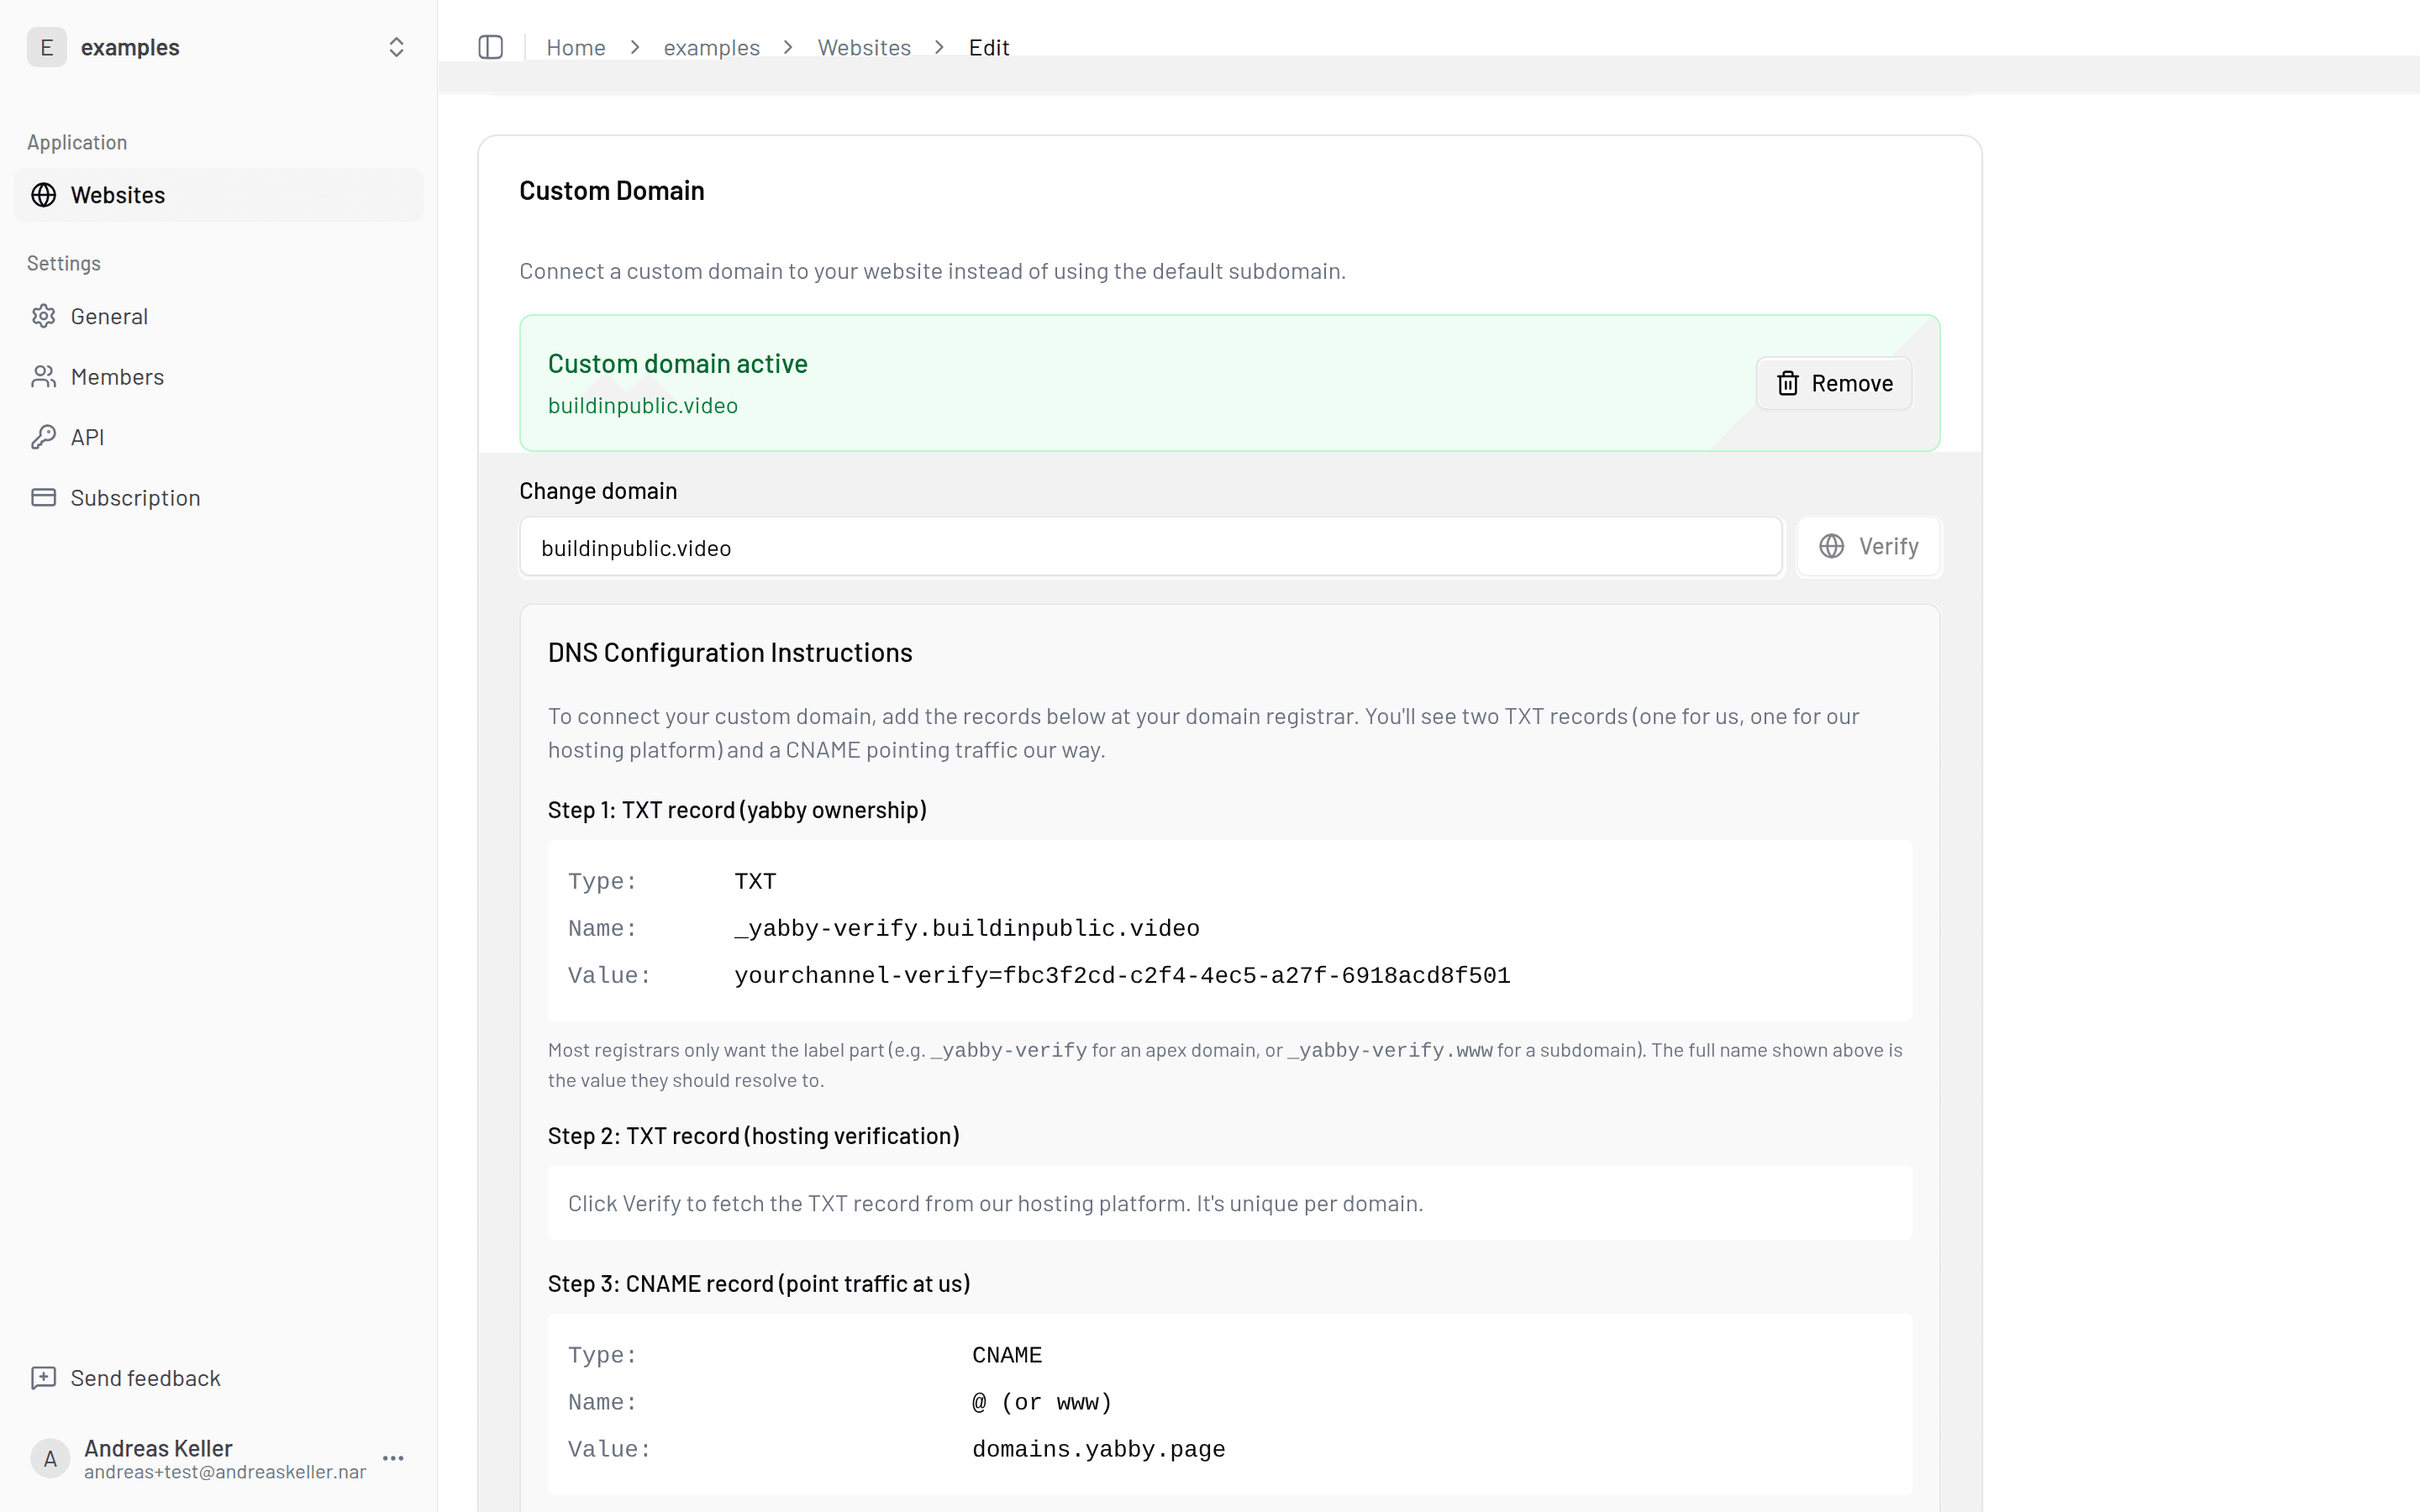
Once verified, an HTTPS certificate is provisioned automatically. Your site is now live on your domain — and stays reachable at your yabby.page subdomain as a fallback.
DNS takes time
DNS changes can take anywhere from a few minutes to 48 hours to propagate. If verification fails right after you add the records, wait a bit and click Verify again.
Registrar notes
The steps are the same everywhere — add a TXT record, add a CNAME (or A/ALIAS for apex) — but each provider's interface differs slightly.
Add the TXT and CNAME records in your zone's DNS settings. Important: set the CNAME to "DNS only" (grey cloud, proxy off) while verifying — Cloudflare's proxy can hide the record from verification. You can revisit the proxy setting after the domain is verified and working.
Add the records in your domain's DNS management area. For the TXT record, some interfaces want only the part before your domain as the host — try _yabby-verify if the full _yabby-verify.yourdomain.com doesn't verify.
Add the TXT and CNAME records in your domain's DNS settings. As with Namecheap, enter the host without your domain name appended if GoDaddy adds it automatically (i.e. use _yabby-verify rather than the full hostname).
Troubleshooting
| Problem | Likely cause and fix |
|---|---|
| TXT record not found | Propagation isn't finished (wait up to 48h and retry), or the host is wrong — many providers append your domain automatically, so _yabby-verify.yourdomain.com becomes _yabby-verify.yourdomain.com.yourdomain.com. Use just _yabby-verify as the host in that case. |
| CNAME won't verify | Another record (A, AAAA, or an old CNAME) already exists on the same hostname. Remove conflicting records so the CNAME is the only one. On Cloudflare, switch the record to "DNS only" while verifying. |
| Apex domain won't connect | Root domains often can't use CNAME records. Add the extra _vercel TXT record and the A/ALIAS records exactly as shown in the dashboard. |
| Worked, then stopped | A required record was probably deleted or changed — for example during a registrar migration or DNS cleanup. Re-add the records shown in the dashboard and click Verify again. |